Integrating with Identity Hub
Overview
The following document describes the installation of the sample MVC client that will interact with the Identity Hub.
The sample client is provided as part of the onboarding process.
The client can be deployed to a cloud service or installed on a local development machine, the instructions in this document describe how to set up the client locally.
Warning
If the client is installed on a cloud service then the identity server will need to be configured with the URL of the actual cloud service. Until this configuration has been done the client will not work in another environment.**
Client Pre-Requisites
The following pre-requisites are required for installing and running the application on a local development machine:
- IIS Manager installed on the development machine.
- IIS Manager Web Manager configured to support asp.net core.
- Visual Studio 2017 IDE or above. (Ideally Visual Studio 2019)
- A user account on the appropriate external identity provider to test with.
My Direct Client Configuration
The sample client for my direct has been configured with the following set up :
| Key | Value | Description |
|---|---|---|
| AuthorityUri | The identity server base url | This is the address of the identity server that will be used to authenticate with the external identity provider. The only one currently configured is the pre-production environment. |
| RequireHttpsMetadata | false | This allows the client to not use https. This is only set to false for the local development environment. |
| ClientIDName | this will be provided as part of onboarding | This is the client identifier configured on the identity server. |
Important
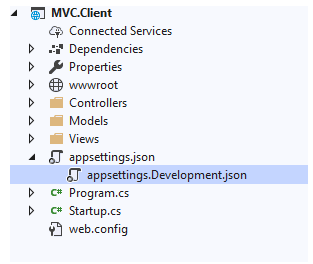
The settings for the client can be seen in the appsettings.Development.json file as of the MVC.Client project.
Installation Instructions
The table below describes the set-up instructions for the MVC Sample Client.
| Ref | Description |
|---|---|
| 1. | Create a host entry in your hosts file as follows: 127.0.0.1 dssclient.local.net |
| 2. | Create a web site in IIS Manager on the local machine. The web site can be named anything you wish. In the picture below the web site created is called dssclient. 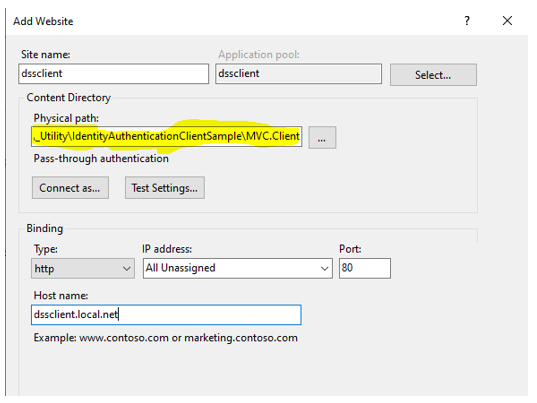 The Physical path highlighted above should be set up to point to the actual directory where the MVC.Client has been saved on your local machine. The Physical path highlighted above should be set up to point to the actual directory where the MVC.Client has been saved on your local machine. |
| 3. | Once the set up has been completed then run the mvc client from within visual studio to ensure that it is working correctly. You should see the following screen: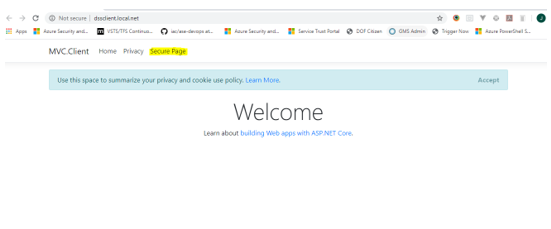 To invoke the external identity provider flow click on the secure page link highlighted in yellow above. To invoke the external identity provider flow click on the secure page link highlighted in yellow above. |
| 4. | When the secure link is clicked then you will be redirected to the CONFIGURED external identity provider.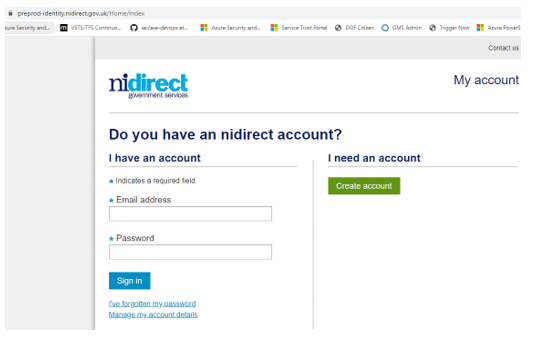 Use the newly registered user to login. Use the newly registered user to login. |
| 5. | After successfully logging in you should be redirected to the secure page and see the following screen: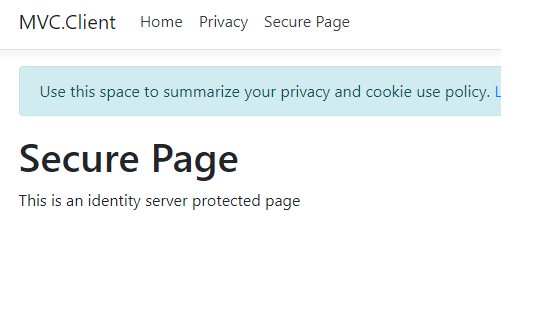 |